 The Torque vs Tension Solution
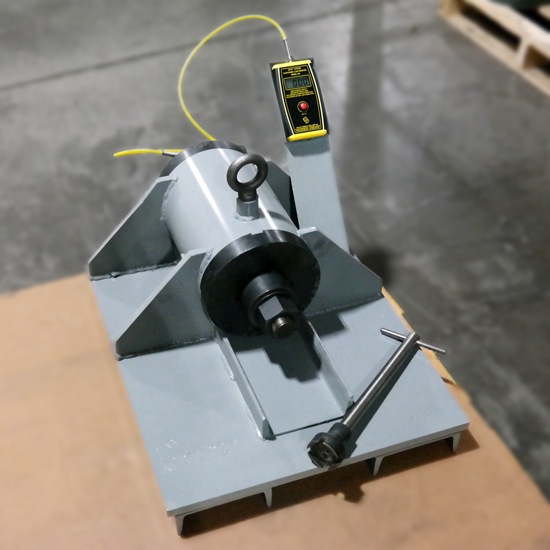
In the assembly of bolted joints, using torque as a measure of joint tightness has plagued the fastener industry. The Clarkester™ Bolt Tester was created to address this mystery.
Errors in target joint clamp load, or bolt tension, of up to 50% may result from using this dated tightening method. We at Valley Forge have worked diligently to create a bolt tension testing method to reduce these errors for our customers.
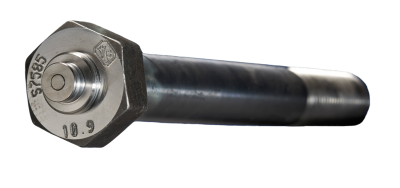
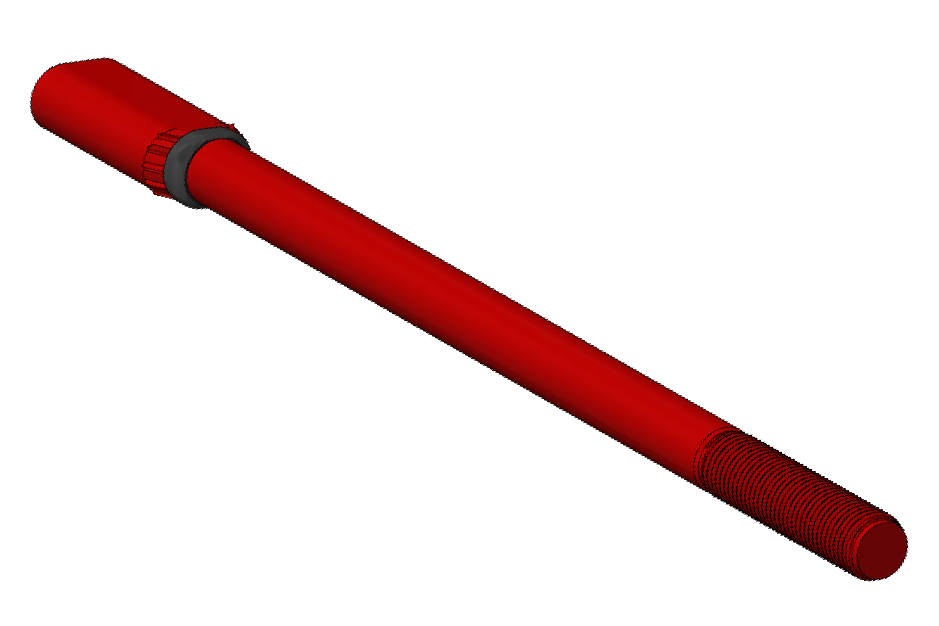
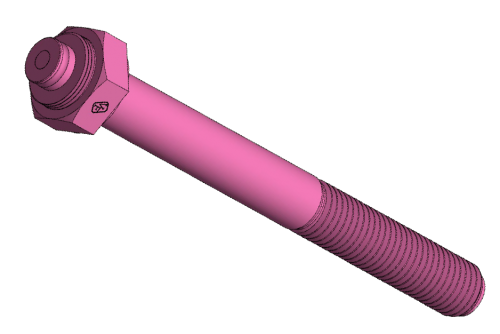
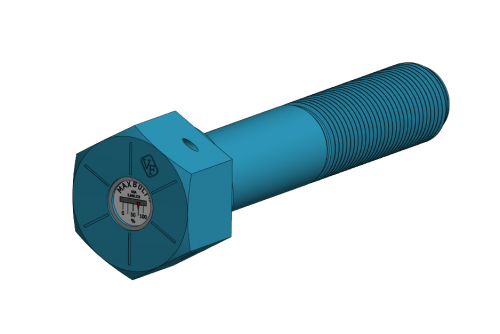
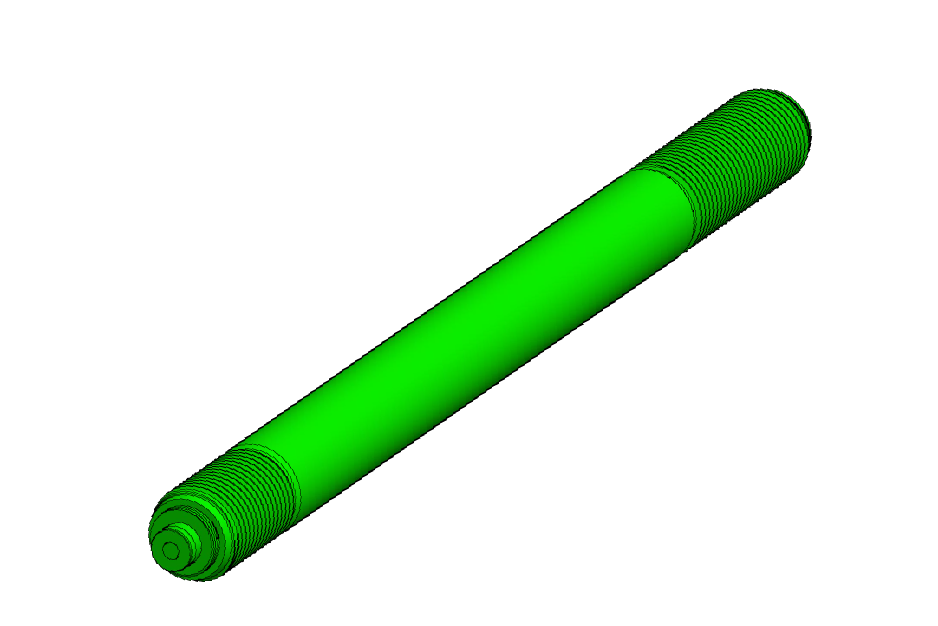
Accurate and reliable bolt tension measurement in the Clarkester™ Tester is assured using Valley Forge’s SPC4™ load indicating bolt, which can easily be verified for load accuracy.
Capacity
Clarkester™ Bolt Testers are available with a load capacity of up to 250,000 pounds and bolt sizes of 2 1/2”. In addition, torque capacity is considerably higher than that of currently available testers.
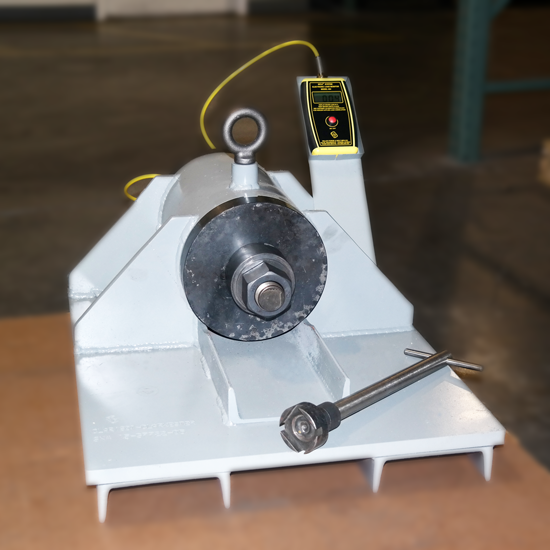 Clarkester™ Features
- Interchangeable load plates for various head configurations, including hex head, square head and mill liner bolts.
- New and replacement parts supplied overnight.
- Dependable trouble-free operation without oil and pressure gauges.
- Eliminates inaccuracies of out of calibration pressure gauges.
- No reaction pins to shear.
- Easy and quick calibration of load cell using SPC4™ technology.
- Self check calibration ability to verify rebuilt tensioning tools.
With the Clarkester™ Bolt Tester, Torque-Tension relationships can be established for most tightening tools including:
- Hydraulic torque wrenches
- Manual multipliers
- Electric and pneumatic multipliers
- Impact guns
- Torque Wrenches
CLARKESTER™ DEMONSTRATION
TORQUE VS TENSION
The mystery of torque versus tension has forever intrigued the engineers who have tried to apply this method of tightening on fastened assemblies. The engineers have the daunting task of taking into account the condition of the fastener. For example, are the fasteners rusty, clean, or lubricated? Will the fastener require lubrication prior to installation? These are only a few of the many possibilities that engineers must be faced with when a critical joint is encountered.
HOW DOES TORQUE RELATE TO TENSION?
The biggest element in this equation is the coefficient of friction of a fastened assembly, or the ‘K’ Factor. Below are a few scenarios depicting a rusty, plain, and lubricated fastened assembly.
K Factor:
K = as low as 0.05
Lubed Assembly: Thread and head bearing surfaces covered with high performance lubricants or with anti-seize compounds.
K = 0.10 to 0.15
Additional Lubed Assembly: Additional lubricating coatings of oil, wax or dissimilar plating or hard washer.
K = 0.15 to 0.20
Plain & Clean Assembly: Dry, clean with thin film of oil.
K = as high as 0.35
Combinations of certain materials such as Austenite stainless steel screw/bolts.
Torque (ft-lbs) = Load Required (lbs) * Diameter (in.) * K Factor / 12
HOW THE CLARKESTER™ BOLT TESTER WORKS
In order to demonstrate the variability in Torque needed for any critical joint, and how our Clarkester™ Bolt Tester can help take the guess work out of this age old mystery, we have calculated the Torque needed for each of the above scenarios.
Lubed Assembly:
T = 30,000lbs * 0.75in. * 0.05 / 12
T = 93.75 ft-lbs
Additional Lubed Assembly:
T = 30,000lbs * 0.75in. * 0.10 / 12
T = 281.25 ft-lbs
Plain & Clean Assembly:
T = 30,000lbs * 0.75in. * 0.15 / 12
T = 281.25 ft-lbs
Rusty Assembly:
T = 30,000lbs * 0.75in. * 0.45 / 12
T = 843.75 ft-lbs

